I have always used Google’s Picasa to do some minor post processing of my photographs. It’s a simple tool and doesn’t really have a steep learning curve although it has it’s limitations.

Most photographers use Photoshop to do their post processing and it is undeniably the most common tool used by photographers. Even most post processing tutorials are using photoshop. GIMP is an open source and freely available software that’s similar to photoshop although many users feel that it is not as user friendly as photoshop. You can find out more about GIMP here.
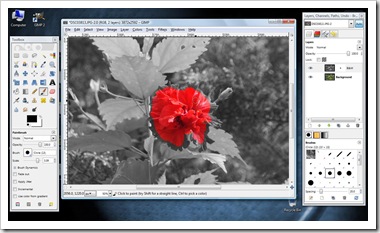
In this post, I will try to show how to convert an image to B&W and then selectively restore coloured areas. The basic steps are:-
- Have the original image
- Duplicate the image, convert to B&W and place it as a layer above the original image
- Add an opaque mask and selectively hand paint the upper B&W layer to reveal the original colour image below
I guess that sounds simple enough. I am using GIMP v2.6.7 on Windows.
1) Open the image that you would like to work on.
2) Make a duplicate of the image (Ctrl-D)
3) Convert the duplicated image to B&W (I use grayscale here)
4) Go to the Layer’s dialog (Ctrl-L), create a New Layer (click on the icon circled in red)
5) Name the new layer
6) Select the new layer in the Layers dialog
7) Select the B&W image (Ctrl-A), Copy it (Ctrl-C) and go to the Layers dialog and Paste it (Ctrl-V)

8) Press the anchor button in the Layers Dialog


10) Make sure full opacity is selected for the mask.

11) Return to the Toolbox (usually, the floating window on the left) and select either the paintbrush or the pen. I use the paint brush to remove the parts I would like to reveal the layer (the coloured layer) below.

Good luck and using the mouse can be a tedious process, try to get yourself a Wacom tablet or equivalent. (Genius makes cheaper alternatives).
Please comment/advise if the instructions are not clear, feedbacks are much appreciated.


No comments:
Post a Comment